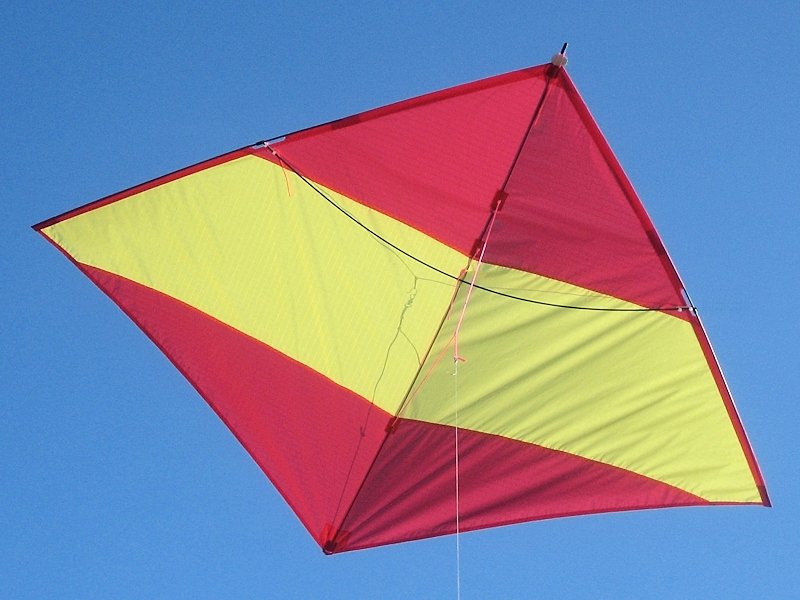
The Urban Ninja was designed by Thomas Horvath, who kindly gave QuadKites.org permission to share and publish this exceptionally detailed plan.
Detailed information on the original build can be found on the horvath.ch website. Below you will find the full materials list, plan links, and step-by-step video references to build along with On The Line.
Quick navigation: this page is the video build-along path. If you want the full technical reference instead, open the Step-by-step guide. You can also go back to the Urban Ninja hub.
The urban ninja has made floating in the city popular all around the world. How to build the kite for zero and light wind? This original plan will show you, step by step. Celebrate the new urban flying style without wind.
Thomas Horvath, kite creator of the urban ninja
This page follows the Urban Ninja tutorial videos produced by On The Line.
Special thanks to Thomas Horvath, Matt Constable, and Josh Mitcheson for sharing the design work and tutorial content with the community.
Who are the authors?
On The Line was an initiative led by Matt Constable and Josh Mitcheson, 2 experienced English kitefliers. They have produced 3 series of tutorials and podcasts, available on their Youtube channel.
For this build-along project, On The Line worked from Thomas Horvath’s Urban Ninja plan and documented each major construction stage in a dedicated video session.
Materials and tools
In order to complete the build as per the instructions in the videos below, you’ll need the following materials and tools:
- Materials
- 3x Icarex ~1400 mm x 500 mm (#10704xx)
- 4x carbon fibre tube – 3 mm dia. 1000 mm (#1023021)
(alternatively, 2x 2000 mm #1023022) - 2x stopper clips – 3 mm (#1100103)
- 1x 3 mm Elliot split nock (#1035130)
- 2x 4 mm standoff/spreader connector (#1090940)
- Bridle line, 35daN white – 3 m (#1131035)
- Self-adhesive Dacron black x 0.25 m(#1113001)
- Self-adhesive Icarex / Spinnaker repair tape (50 mm wide) x 1 m (#1123090)
- 1.8 mm / 2.0 mm dia. bungee – 100mm (#1119002)
- 6 mm wide, double-sided tape (3M ATG tape recommended)
- Polyester thread
- Tools
- Sewing machine
- Ruler (preferably 1 m)
- Soldering iron
- Hole punch
- Scissors
- Scalpel
- Pencil
- Masking tape
- Sewing clips / paperclips
- 2 or 3 weights (sewing weights, heavy books, tinned produce etc.)
Plans
Here are the plan resources used in this build:
- Panel template PDF
- Plan in one page
- Plan divided in 10 pages (A4 format)
- Official Urban Ninja project page
Panel Templates
The panel layout can be downloaded above. You will also need to cut the following pieces using Icarex, self adhesive Dacron and self adhesive Icarex:
- 2x Leading edge pocket
- 1x Black Icarex – 30 x 1000 mm
- 2x Trailing edge
- 1x Black Icarex – 10 x 800 mm
- 1x Nose
- 1x Self adhesive Dacron – 25 x 50 mm
- 1x Tail spine pocket
- 1x Self adhesive Dacron – 20 x 50 mm
- 1x Self adhesive Dacron – 10 x 40 mm
- 3x Bridle / Z-line reinforcement
- 1x Self adhesive Dacron – 12 x 20 mm
- 2x Self adhesive Icarex – 9 x 40 mm
- 2x Leading edge reinforcement
- 1x Self adhesive Icarex – 15 x 40 mm
- 2x Wingtip pocket
- 1x Self adhesive Dacron – 6 x 16 mm
- 1x Self adhesive Icarex – 10 x 10 mm
- 1x Self adhesive Icarex – 16 x 40 mm
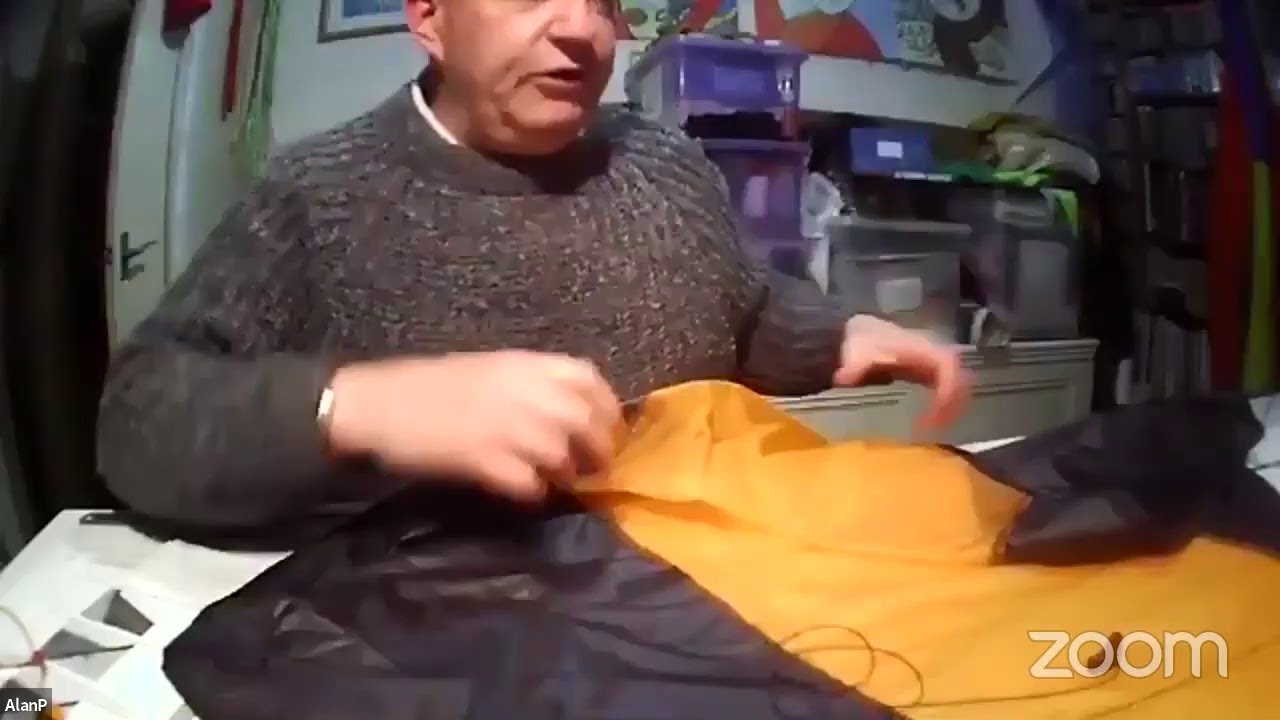
Tutorial videos
Matt and Josh guide the complete Urban Ninja build over 5 sessions. Each part below includes key timestamps so you can jump directly to the stage you need.
Quick view kite building video

Intro
This introduction covers plan prep, panel cutting workflow, and initial material preparation:
- Plan preparation: check print scale (500×10), trim margin, punch reference holes (from 4:33)
- Fabric choices: 3 panels + contrast (lighter middle) + optional black border (from 8:21)
- Cut top panel: fold in half + align grain + crease + tape down + mark through holes + straightedge/rotary cut (from 11:25)
- Cut bottom panel: same method (from 22:44)
- Middle panel: cut same as others (or use pre-printed panel) (from 27:32)
- Cut edge strips: tape down + use fabric grain as baseline + mark 10 mm + long cut + mark 30 mm + long cut (from 29:17)
- Pre-cut small patches: adhesive dacron/icarex squares (per kit list) (from 44:00)

Part 1
This first build session focuses on assembling and sewing the main sail panels:
- Panel taping + drape method (from 07:47)
- ATG tape technique tip: weight the panel with a steel rule (from 12:40)
- Mark reinforcement positions: 10 mm from edge + 100 mm up the centerline (from 18:13)
- Join panels: align panel edge to tape edge, peel backing with ruler “spacer”, drape down, then repeat other side (from 23:04)
- Fold in half to check symmetry before sticking second half; create a small backing “tab” (from 27:02)
- Reinforcements order warning: 12×20 dacron goes under the 9×40 patches (from 46:15)
- Pre-fold 12×20 patches lengthwise (backing outward) to place accurately (from 43:30)
- Align 9×40 strips by matching strip end with start of colored panel section (from 48:04)
- Center seam sewing prep: mark ±30 mm around center for shorter stitch zone (≈60 mm total) (from 55:34)
- Sew panels: triple zigzag, width 4 mm, length ~3 mm; optionally shorten to 1.5 mm in center zone; different machines interpret length differently → do a test strip (from 55:01–01:02:10)
- Lock stitch: optional here because LE/TE later will cover ends, but he tends to lock anyway (from 01:05:12)

Part 2
This second session covers trailing edge and leading edge construction, plus common alignment fixes:
- Leading + trailing edges (from 2:01)
- Trailing edge: clips / masking tape, sew 2 halves, trim ends (from 3:16)
- Stitch choice: narrow zig-zag ~3.5×3 (or 3 wide), accuracy > speed (from 13:06)
- Tip: start TE precisely at wingtip end (or start outside & sew onto sail if your machine hates the edge) (from 4:08)
- Leading edge: use double-sided tape on sail near fold (follow curve), stick LE strip ~6 mm onto sail, don’t press until aligned; clip fold, sew one side at a time (from 28:48)
- LE stitch: widen to ~4 (difference vs 3.5 not critical), lock later with the second LE pass (from 48:13)
- Common mistake: trimming tip at the wrong angle → no material for tip reinforcements; fixable with adhesive Icarex “pocket” patch + sew (from 55:14)
- Workholding tips: light tension/pressure to prevent slipping; remove tape a few inches before presser foot; backlight under table helps align while sewing (from 15:40 / 27:01 / 46:40)
- Next session preview: wingtip reinforcements, leading-edge reinforcements, tail pocket, nose (from 50:38)

Part 3
This third session focuses on reinforcement and finishing details on high-load areas:
- Wing tip reinforcements + holes (from 8:04)
- Leading edge reinforcements + cutouts (from 23:00)
- Tail pocket: fold, stick, holes + sewing (from 37:01)
- Nose reinforcement: fold/cut + stick + extra patch + sewing (from 55:01)

Part 4
This final session includes bridle setup, frame installation, and final tuning:
- Punch holes + prep tools (from 02:06)
- Cut bridle line lengths (from 11:16)
- Melt “mushroom” ends for pen-loop knots (from 17:16)
- Tie bridle + Z with pen-loop knots through sail holes (from 23:11)
- Join Y to X (sliding knot) (from 32:58)
- Insert spine + nose connector (from 38:17)
- Leading edges + stoppers + spreader connectors (from 42:39)
- Tie X to leading edges + fit spreader connectors (from 48:40)
- Tail setting (from 55:58)
- Front spreader pen-loop + leader/pigtail (from 57:01)
- Final notes + tuning (from 60:29)
Conclusion
You now have a complete build-along sequence for making your own Urban Ninja from sail assembly to final tuning. If you follow the 4 sessions in order, you can build confidently and keep a clean, repeatable workflow.
Useful links
- Urban Ninja hub
- Urban Ninja step-by-step reference
- Official Urban Ninja project page (Thomas Horvath)
- On The Line YouTube channel
Did you like this content?
Do you like this content? Consider becoming a supporter! We’re actively seeking support for the development of QuadKites.org: support our server costs, distribute our content, offer your skills…